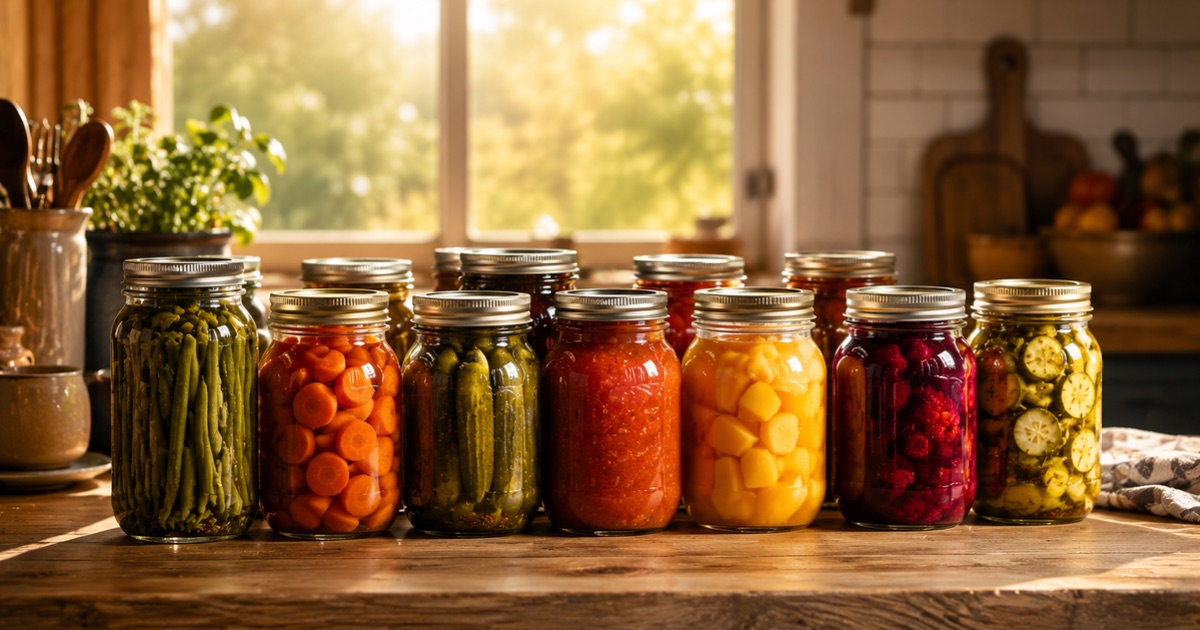
Canning is one of the oldest and most reliable forms of food security there is, and it's a perfect fit for El Niño preparation. It lets you turn a garden harvest or a bulk-store haul into shelf-stable food that lasts a year or more, with no electricity required to keep it. When done correctly, home canning is safe, economical, and deeply satisfying. When done incorrectly, it can be genuinely dangerous — so the rules matter, and this guide will be clear about which ones you can never break. This complements your emergency food stockpile.
The two methods, and why the difference is life-or-death
There are two canning methods, and matching the right one to your food is the most important safety decision you'll make.
Water-bath canning is for high-acid foods: fruits, jams and jellies, pickles, and tomatoes with added acid. The combination of high acidity and the heat of boiling water is enough to safely preserve these foods and prevent dangerous bacteria from growing.
Pressure canning is mandatory for low-acid foods: vegetables, meats, poultry, seafood, beans, and soups. These foods must reach a temperature higher than boiling water can achieve — only a pressure canner gets there — to destroy the spores that cause botulism, a rare but potentially fatal form of food poisoning. This is the one rule you never, ever break: low-acid foods must be pressure canned, never water-bathed. If you take only one thing from this guide, take that.
Step 1: Sterilize jars and inspect everything
Start with clean, sterilized jars and always-new lids (rings can be reused, flat lids cannot). Inspect each jar carefully for chips, cracks, or nicks on the rim, any of which will prevent a proper seal. Wash everything in hot soapy water and keep jars hot until you fill them to prevent thermal shock and breakage.
Step 2: Prepare your food and pack the jars
Follow a tested recipe exactly — this isn't the place to improvise. Prepare your produce or meat as directed, and pack it into the hot jars. Whether you pack raw or hot depends on the recipe, so follow it precisely, including any added acid (like lemon juice for tomatoes) that the recipe calls for to ensure safety.
Step 3: Leave the correct headspace
Headspace — the gap between the food and the jar rim — is critical for a good seal, and recipes specify it for a reason (commonly a quarter-inch for jams, a half-inch for fruits, and an inch for low-acid foods). Too little headspace can force food out and break the seal; too much can prevent a vacuum from forming. Use a headspace tool or ruler rather than guessing, and run a non-metallic spatula around the inside to release trapped air bubbles.
Step 4: Process for the full time
Process the jars in your water-bath or pressure canner for the exact time and, for pressure canning, the exact pressure your tested recipe specifies for your altitude. Both processing time and pressure increase at higher elevations, so adjust accordingly. Do not cut the time short or eyeball the pressure — this step is what actually makes the food safe.
Step 5: Check every seal
After the jars cool completely (give them 12 to 24 hours undisturbed), check each seal by pressing the center of the lid. If it doesn't flex or pop, it sealed properly. Any jar that didn't seal should go in the refrigerator and be used soon, not stored on the shelf.
Step 6: Label, date, and store
Write the contents and the date on every jar, remove the rings for storage to prevent hidden corrosion and false seals, and store the jars in a cool, dark, dry place. Use the oldest jars first. For dry goods that don't need canning at all — grains, beans, rice — mylar-bags with oxygen absorbers are the simpler long-term route.
Frequently asked questions
Is home canning actually safe?
Yes, when you follow tested recipes and use the correct method for the food. The critical safety rule is pressure canning all low-acid foods to prevent botulism. The danger comes only from improvising — using the wrong method, shortening processing times, or guessing at pressures. Follow trusted guidelines and it's very safe.
What's the difference between water-bath and pressure canning?
Water-bath canning uses boiling water and works for high-acid foods like fruits, jams, pickles, and acidified tomatoes. Pressure canning reaches the higher temperatures required to safely preserve low-acid foods like vegetables, meats, and beans. Using the wrong method on low-acid food is the main cause of unsafe canned goods.
How long does home-canned food last?
Properly canned and stored food is best used within about a year for peak quality, though it often remains safe somewhat longer. Always inspect before eating, and discard any jar that is bulging, leaking, spurts when opened, smells off, or has a broken seal — without tasting it.
Do I need special equipment to start canning?
For water-bath canning, a large stockpot with a rack, jars, new lids, and basic tools will get you started. For low-acid foods you'll need a proper pressure canner (not the same as a pressure cooker for some models — check that yours is rated for canning). It's a modest investment that pays off over many seasons.
Can I reuse canning jars and lids?
You can reuse the glass jars (if undamaged) and the metal rings indefinitely, but the flat sealing lids are single-use for canning — the sealing compound only works reliably once. Always use new flat lids for each batch to ensure a safe seal.