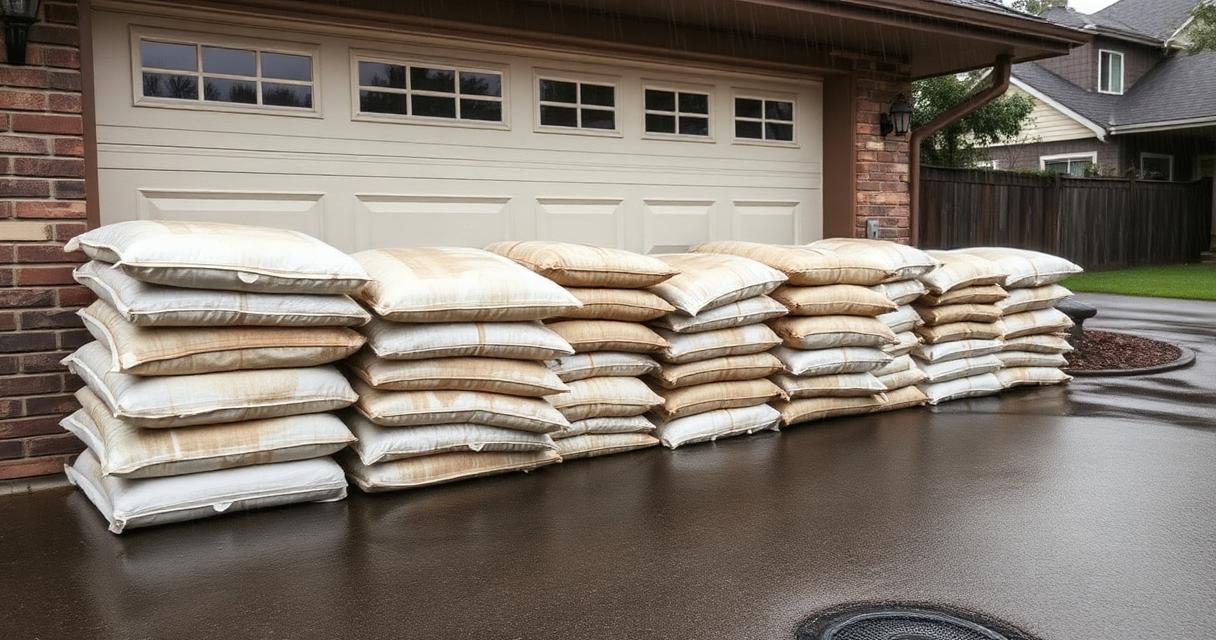
A sandbag wall is one of the few tools that can actually keep floodwater out of your home — but only if you build it correctly. And most people don't. The two most common mistakes are overfilling the bags and stacking them straight up like a garden wall, and both let water find a path right through. With El Niño 2026 raising the flood risk across much of the country, knowing the real technique is worth far more than owning a pile of bags. Here's how to do it the way emergency crews do. This pairs with the flood preparedness checklist.
Get your materials before the storm
The first rule is timing: get sand and bags now, not when rain is in the forecast. Stores and municipal supply points sell out within hours of a flood warning. Many cities and counties offer free sand and bags before major storms — find out where your local distribution points are now, while there's no pressure. You'll want burlap or woven polypropylene sandbags and clean sand; if you can't get sand, soil works in a pinch, but avoid gravel or rocks, which leave gaps water flows through.
Step 1: Fill each bag only half full
This is the single most important step and the one people get wrong. A bag filled only about half full flattens out and molds to the bags around it, sealing the gaps between them. An overfilled, rounded bag stays rigid and leaves channels for water to slip through. Half-full bags are also far easier to carry and place, which matters when you're building a wall in a hurry.
Step 2: Fold the open end under
Don't tie the bags closed. Instead, fold the open end under so the weight of the sand holds it shut. This creates a flat, sealable surface and eliminates the bulky knot that would otherwise prevent a tight stack. It's faster, too, which counts when time is short.
Step 3: Lay them like brickwork
Stack the bags in a staggered, overlapping pattern — exactly like laying bricks — so the seams never line up vertically. Aligned seams create a continuous channel straight through your wall. Place each bag with its folded end pointing toward the oncoming water, and tuck that end under the next bag in the row so the weight holds everything in place.
Step 4: Stomp each layer flat
After completing each layer, walk along it and stomp the bags down firmly. This packs the sand, seals the gaps between bags, and locks the layer into a solid, interlocked mass. Skipping this step leaves air pockets and seams that leak. A well-stomped wall behaves almost like a single molded barrier rather than a stack of loose bags.
Step 5: Build a pyramid for any real height
A single row protects against a few inches of water. For anything taller — say, a two- or three-foot barrier — you must build a pyramid: a wide base that narrows as it rises. A typical ratio is three bags wide at the base for every foot of height. A straight vertical stack will simply topple under the pressure of standing water, while a pyramid braces itself against the load.
Step 6: Line it with plastic sheeting to seal
Sandbags alone slow water; they don't fully stop it. For the best seal, drape heavy plastic sheeting over the water-facing side of the wall and tuck the bottom edge underneath the first row of bags, so water pressure presses the plastic tight against the barrier rather than lifting it. This simple addition turns a leaky sandbag wall into a genuinely effective one.
Where to place your wall
Protect the openings, not the entire perimeter — you'll run out of bags and energy otherwise. Focus on the lowest entry points where water will actually come in: doorways, garage doors, basement windows and window wells, and floor drains. A few well-built barriers at the right spots protect a home far better than a thin wall stretched around the whole house.
Frequently asked questions
How many sandbags do I need?
As a rough guide, a wall one foot high and ten feet long takes roughly 100 half-filled bags. For a pyramid two feet high, you'll need substantially more because of the wider base. Estimate your length and target height, then round up generously — running short in the middle of building leaves a gap that defeats the whole wall.
What can I use if I can't get sand?
Soil or dirt will work in an emergency, though sand seals better. Avoid gravel, rocks, or anything coarse, since those leave gaps that let water through. Some areas also offer pre-filled bags or alternative flood barriers worth knowing about in advance.
How high can a sandbag wall realistically go?
Practically, two to three feet is the sensible limit for a homeowner-built pyramid wall. Beyond that, the base footprint and bag count grow enormous and the structure becomes unstable. For deeper flooding, evacuation and structural flood-proofing are the real answers.
How long do sandbags last once placed?
They're a short-term defense. Wet sandbags break down over days to weeks, and sand that has contacted floodwater may be contaminated and should be disposed of properly afterward, not reused in gardens. Build them for the event, then plan to remove and discard them.
Where exactly should I put sandbags around my house?
At the lowest points where water enters: exterior doors, the garage door, basement windows and window wells, and over floor drains to prevent sewer backup. Concentrate your effort on these vulnerable openings rather than trying to ring the entire house.