You can't stop El Niño's rain, but you can control where it goes once it lands. The overwhelming majority of home flood damage comes from two sources: water that pools against the foundation because the ground or gutters send it there, and water that backs up through drains during heavy rain. Both are defendable — and a surprising amount of flood-proofing is cheap, boring maintenance rather than expensive construction. Here's how to harden your home before El Niño 2026 peaks, organized from free fixes you can do this weekend to bigger projects worth hiring out. This pairs with our flood preparedness checklist and the broader El Niño prep guide.
Start with drainage — the cheapest, highest-impact fix
If you do only one thing, fix your drainage. Water should move away from your house, not toward it.
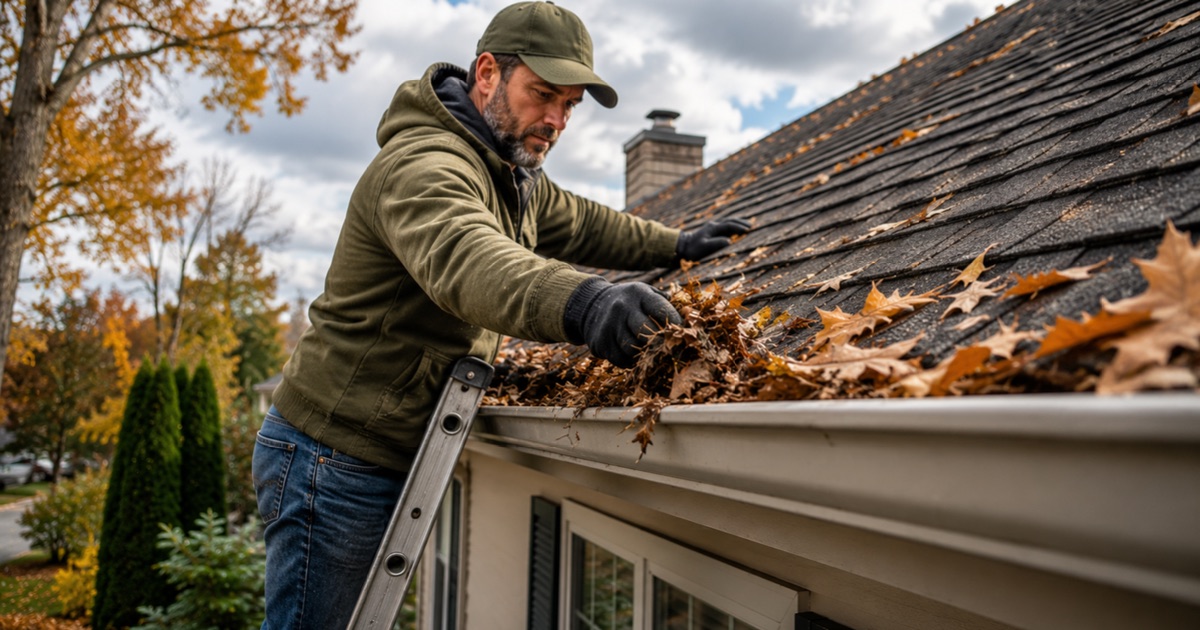
- Clean gutters and downspouts so rain actually flows through them instead of overflowing against the foundation.
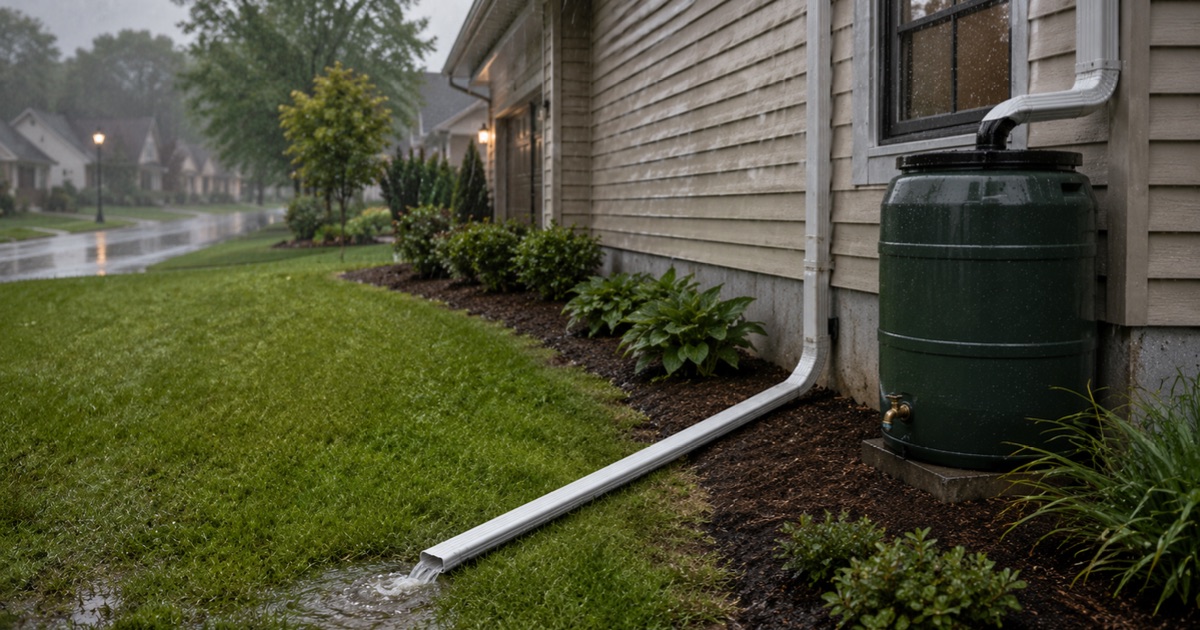
- Extend downspouts at least six feet from the house. Downspouts that dump right at the base of the wall are a leading cause of basement seepage. Inexpensive extensions or splash blocks fix it.
- Grade the soil so it slopes downward away from the foundation — aim for about six inches of drop over the first ten feet. Build up low spots where water collects against the wall.
None of this costs much, and together it solves the most common flooding problem most homes have.
Seal the foundation and basement walls
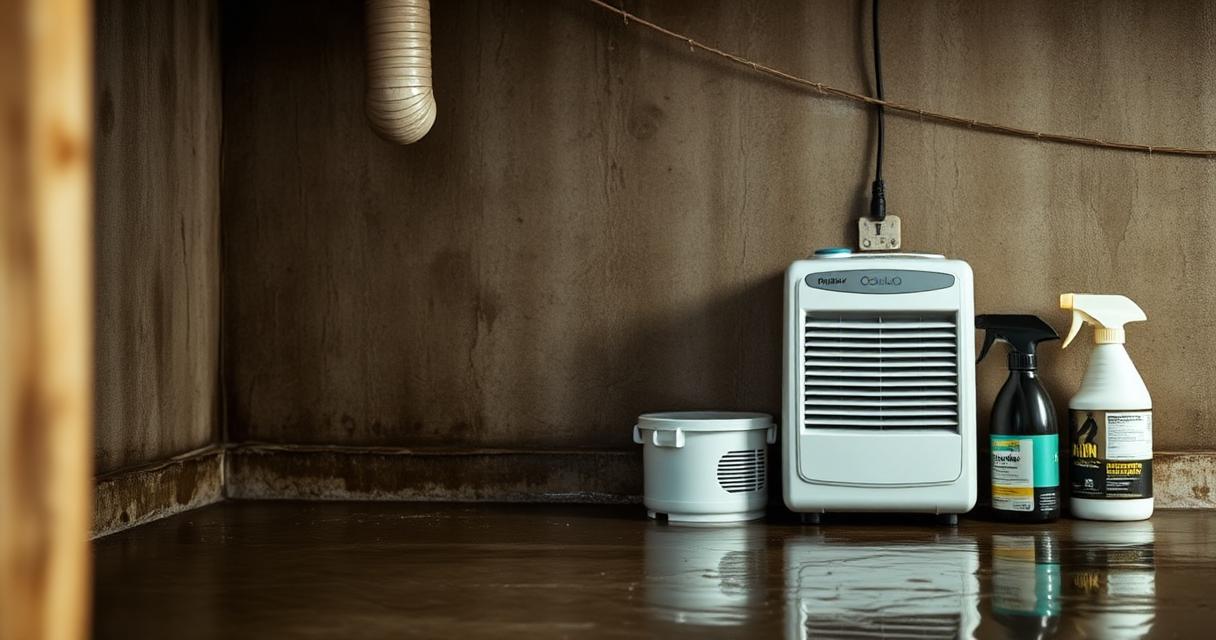
Water finds the smallest gaps first. Inspect your foundation and basement walls for cracks and seal them with hydraulic cement or a quality masonry sealant. A tube of sealant costs a few dollars and can be the difference between a dry basement and an expensive cleanup. Pay special attention to where pipes and utilities enter the wall, which are common leak points.
Install backflow valves on your drains
During heavy rain, overwhelmed municipal sewers can reverse and push water — and worse — back up through your home's floor drains and toilets. A backflow valve is a one-time installation that stops this from happening through your lowest drains. It's best installed by a licensed plumber, often requires a permit, and many municipalities offer rebates because it reduces strain on the system. For flood-prone homes, it's one of the most worthwhile upgrades you can make.
Raise your appliances and utilities
In a home that has flooded before or sits in a flood zone, get your furnace, water heater, electrical panel, and washer/dryer up off the floor — onto raised platforms or, ideally, a higher floor. Floodwater rarely needs to be deep to destroy a $1,500 appliance or knock out your heat in the middle of a storm. Elevating them turns a potential catastrophe into a minor inconvenience.
Protect your openings
Identify the low entry points where water would come in first — garage doors, basement windows, doorways, and window wells — and have a plan for each. Sandbags, removable flood barriers, and window-well covers all help. Learn the right sandbagging technique in our dedicated guide, because a poorly built sandbag wall leaks badly.
Keep your sump system storm-ready
A working sump pump with a battery backup is your basement's last line of defense, and it has to work during a power outage — exactly when storms knock the power out. Test it before the season, add battery backup, and keep a noaa-radio on hand for warnings. The full setup is in sump pump and backup power.
A room-by-room priority order
If the project feels big, tackle it in this order. Start with the basement and lowest level, where water arrives first and does the most damage: seal cracks, add backflow valves, and elevate utilities and stored items. Move next to the exterior and yard, fixing grading, downspouts, and any low spots that channel water toward the house. Finally, address the ground floor entry points — doorways, garage doors, and low windows — with weatherproofing and a sandbag plan. Working lowest-to-highest matches the order floodwater actually threatens your home, so every hour you spend protects the most vulnerable areas first.
Frequently asked questions
What's the cheapest high-impact flood-proofing step?
Fixing drainage — cleaning gutters, extending downspouts, and grading soil away from the foundation. It costs almost nothing and prevents the single most common type of basement and foundation flooding.
Do I need a permit for a backflow valve?
Usually yes, and it's a job best left to a licensed plumber. Check with your local building department before you start — and ask about rebates, since many areas subsidize backflow prevention because it reduces sewer strain.
Can sandbags really protect my house?
They help redirect shallow water and protect specific low entry points, but they aren't a permanent seal and won't hold back deep or fast water indefinitely. Build them correctly (half-full, staggered, lined with plastic) and treat them as one layer of defense, not the whole plan. See our sandbagging guide.
How do I know if my home is in a flood zone?
Look up your address on FEMA's flood map service center. It will tell you your flood zone designation and risk level, which also determines whether flood insurance is required or strongly recommended.
Will flood-proofing lower my insurance?
It can. Mitigation steps like elevating utilities, installing backflow valves, and proper drainage may reduce flood insurance premiums and will almost certainly reduce your out-of-pocket losses. Document the improvements and ask your insurer.
How long do flood-proofing improvements last?
Most are durable, multi-year upgrades. Backflow valves and elevated utilities last for years, foundation sealing holds for a long time, and proper grading is essentially permanent with minor upkeep. Drainage maintenance like gutter cleaning is the recurring part, but the structural improvements protect you season after season.